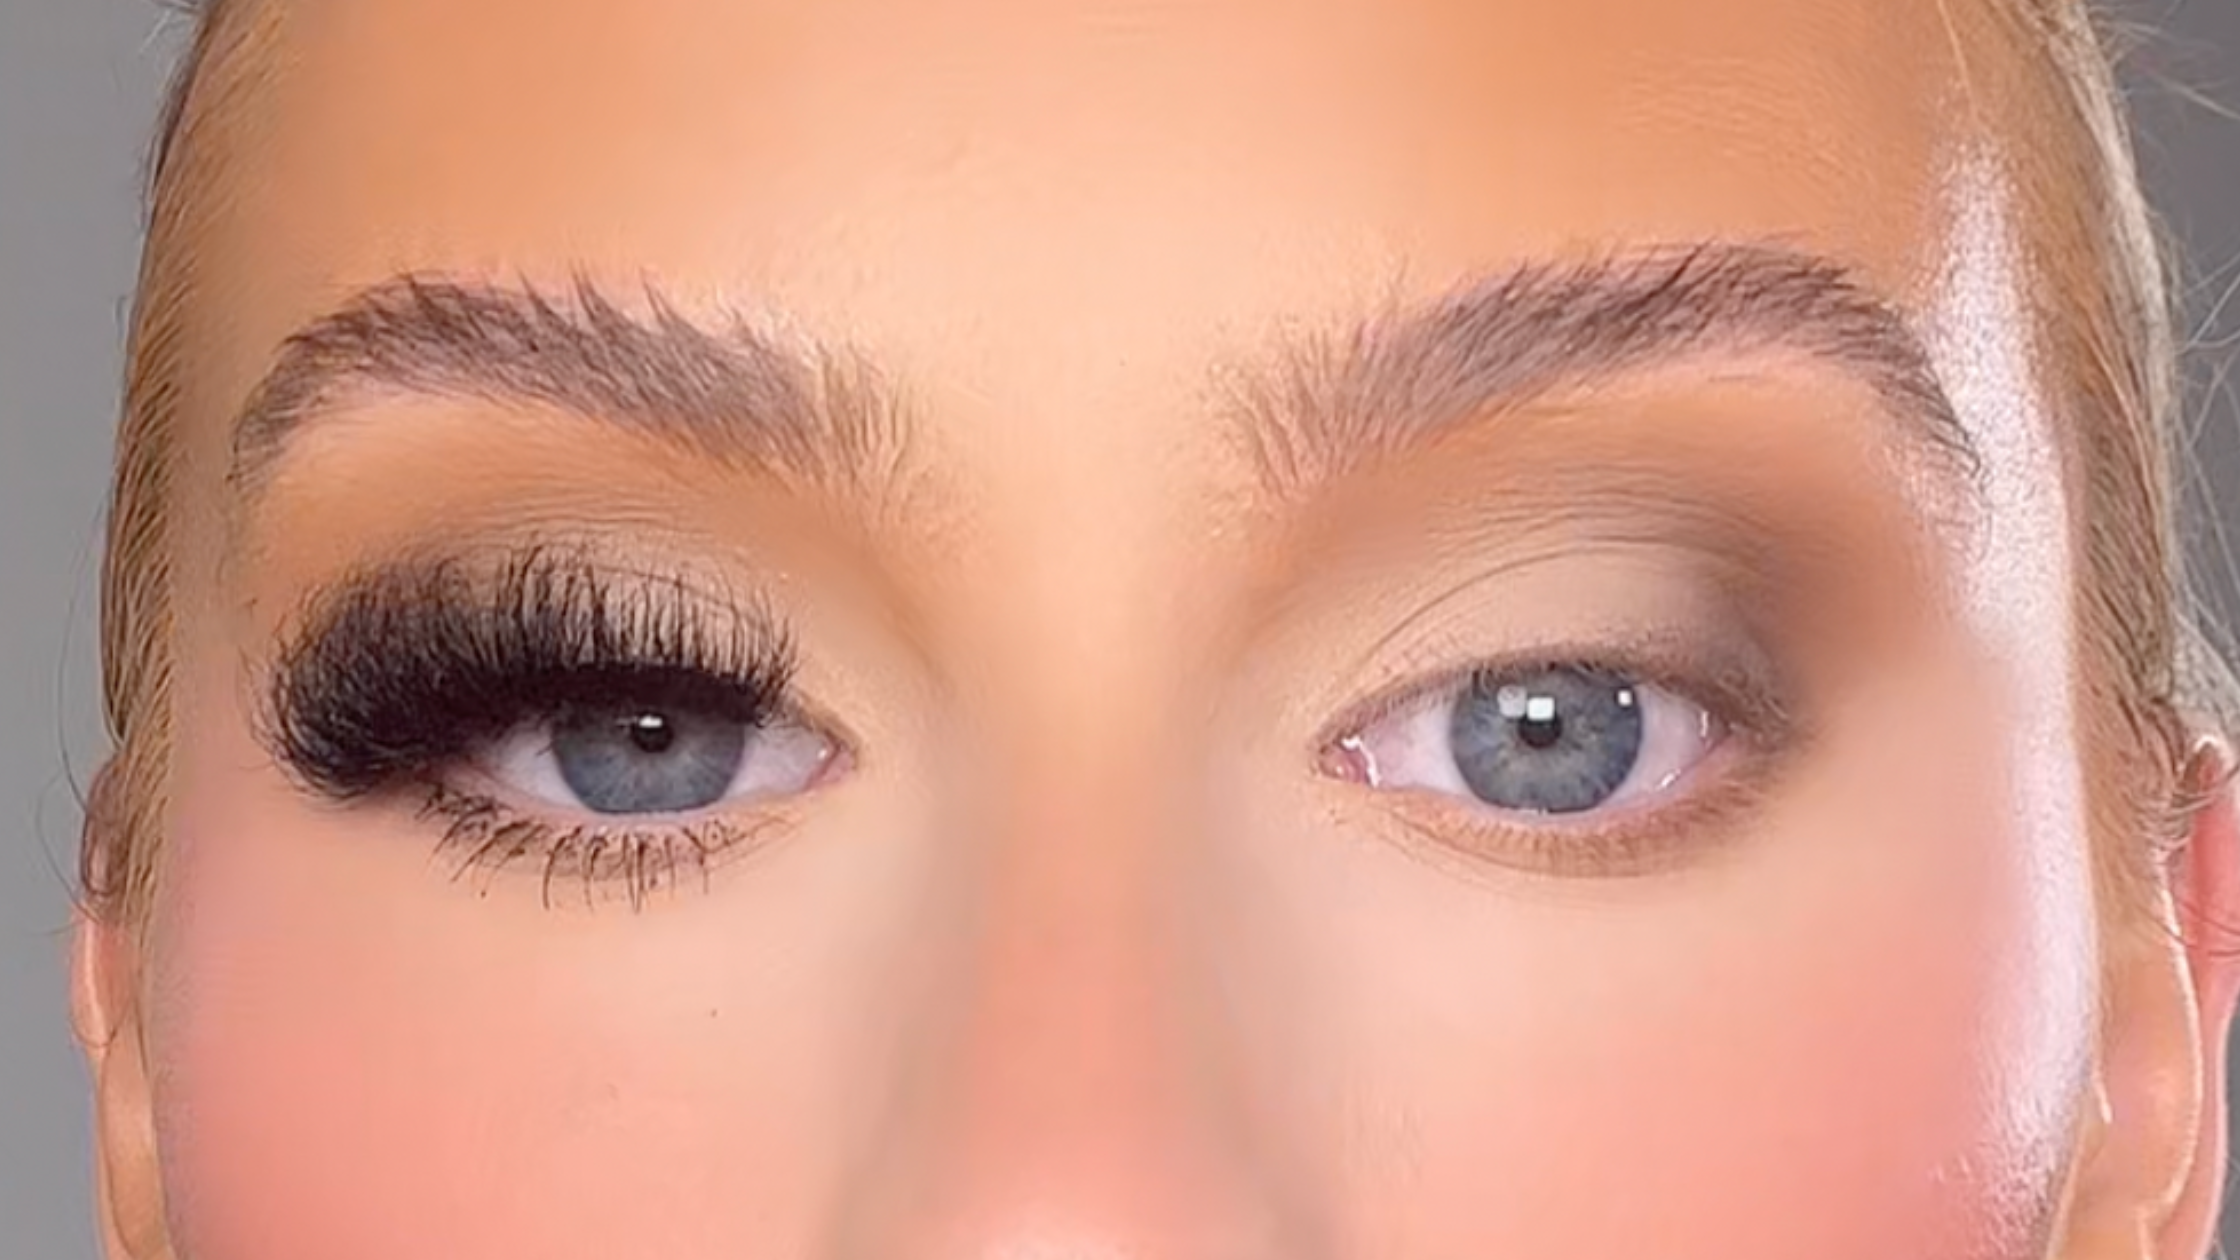
Master your Lash Application
Want to take your eye makeup game to the next level?

Step 1: Measure and Trim
First things first, you'll want to measure your false lashes against your eyes. Place the lash strip along your lash line and trim any excess from the outer corner. Remember, it's better to start with longer lashes and trim as needed for a perfect fit.
Step 2: Apply Lash Glue
Next, it's time to apply lash glue. A tip for ensuring a secure hold is to apply the glue to both your lash line and the band of your false lashes. This provides a strong grip that will make your lashes stick like velcro. Make sure to choose a lash glue that dries clear for a flawless finish.

Step 3: Wait for the Glue to Get Tacky
This step is essential for a seamless application. Allow the lash glue to go tacky by waiting for about 30 seconds. This will prevent the lash from sliding around when you go to place it on your lash line.
Step 4: Place and Secure the Lash
Now, get ready to apply your false lashes. Look down into a mirror and gently place the center of the lash strip in the middle of your eye, as close to your natural lash line as possible. Then, using a pair of lash applicator, press the inner and outer corners down, ensuring they're securely attached.

Step 5: Clamp and Blend
To seamlessly blend your false lashes with your natural ones, gently clamp them together using your lash applicator. This technique ensures that the two sets of lashes appear seamless and natural. Give it a gentle squeeze, but be careful not to tug or pull on the lashes.
Note: Ensure you choose high-quality lashes that are comfortable to wear and suit your desired look. Additionally, practice good lash care by removing them gently at the end of the day and storing them properly to maintain their shape and longevity.